Hello everyone! I'm the Big Tail Siege Lion🦁, and there will be a lot of five-minute series in the next few tutorials on how to backup you from various devices or NAS to another backup host of yours.
I hope that everyone who has any questions about NAS backup can be solved easily. If you have any questions about operation, you can leave a message and I will answer them one by one~
So let's get to today's topic!
Today, Big Tail Siege Lion will teach you how to back up a Synology Nas to another Nas step by step to meet the needs of off-site backup. Before setting, remember to go to the NAS of the destination backup and set the access first. Account and password yo! So let's get started!
Synology Nas 本身的套件就有一個強大的Hyper backup可以擴充,來使用這個套件進行轉移,所以本篇主要是利用這個套件來完成!
另外在下篇也會教學Synology Nas中如何設定來使用rsync來備份檔案。
Install Hyper backup package on Synology DSM
First enter the Synology management program DSM

▲ Enter [Kit Center]
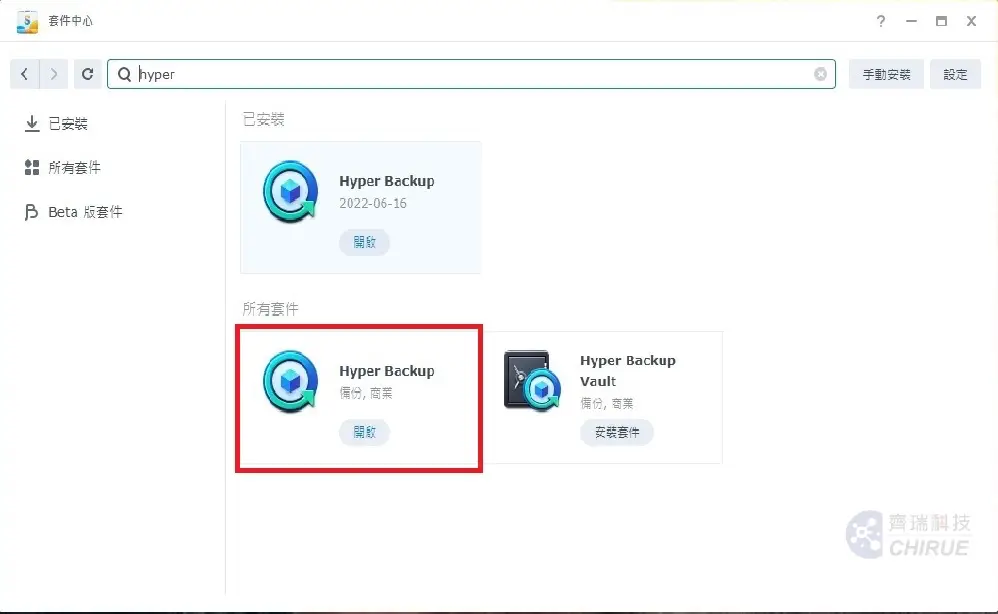
▲ SearchHyper backuppackage and install it, after the installation is complete, choose to open
Configure Hyper backup to connect to the backup host
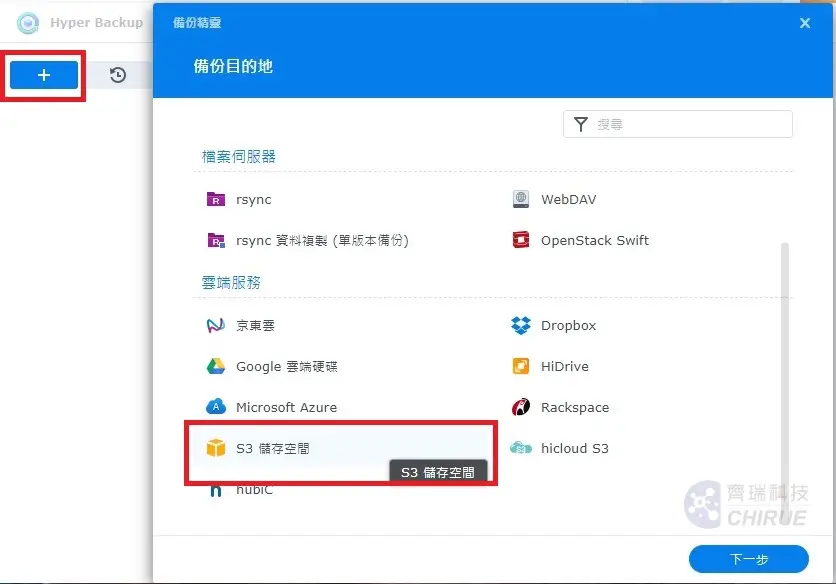
▲ After Hyper backup is enabled, press [+] to open the backup wizard, and select [S3 storage space] as the backup destination, then click Next
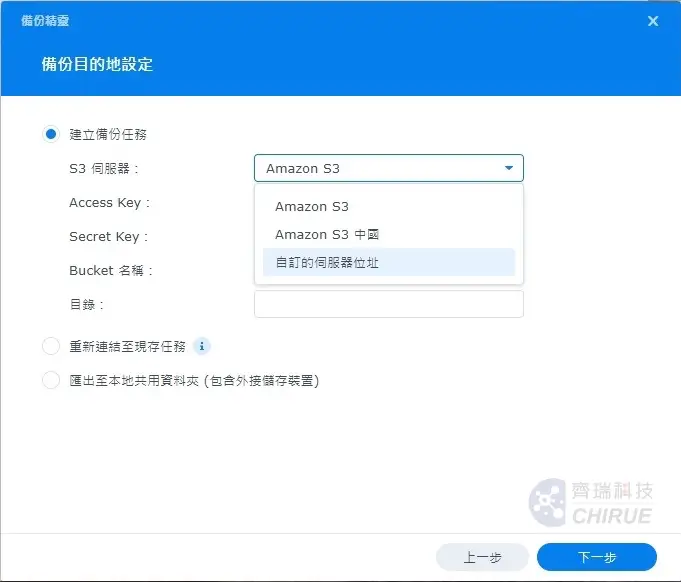
▲ S3 server select [custom server address]
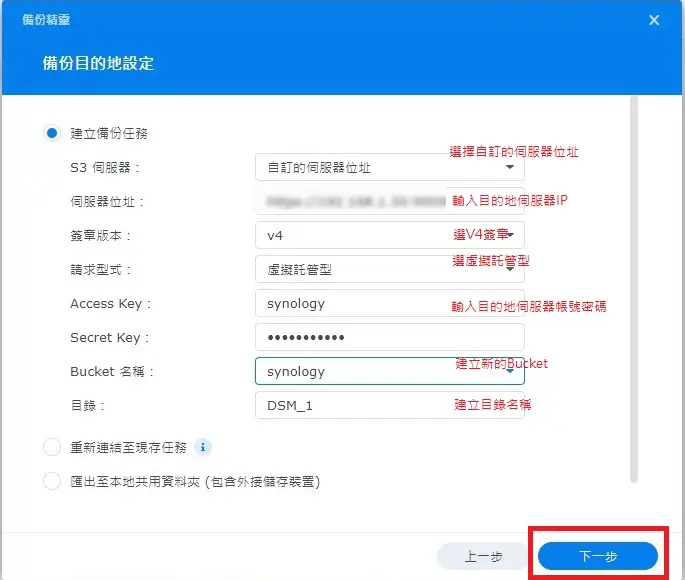
▲ Fill in your destination server address, signature version, Access Key, Secret Key you set, and create a new Bucket, then click Next
The bucket name is like the parent folder of the backup, and the directory is the subfolder below
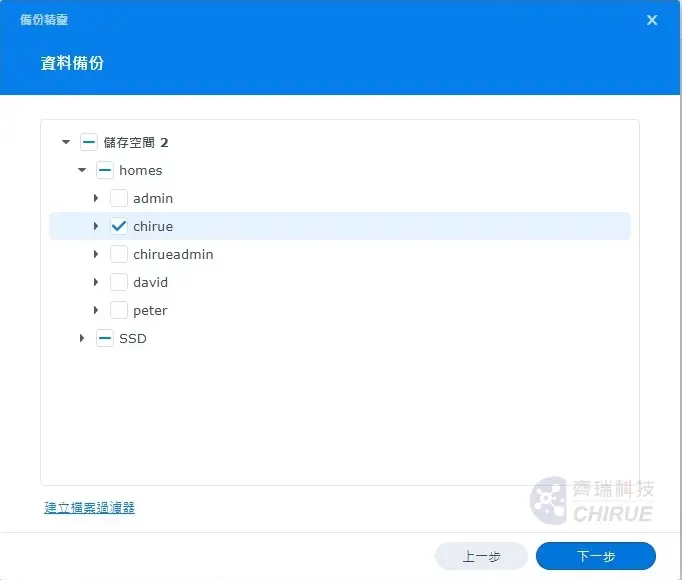
▲ Check the folders to be backed up and click Next
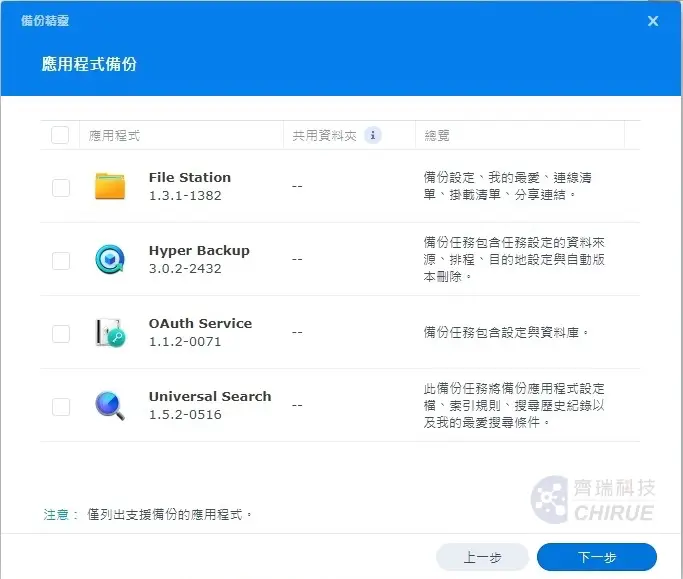
▲ Application backup, if you do not need to backup, you can directly click Next
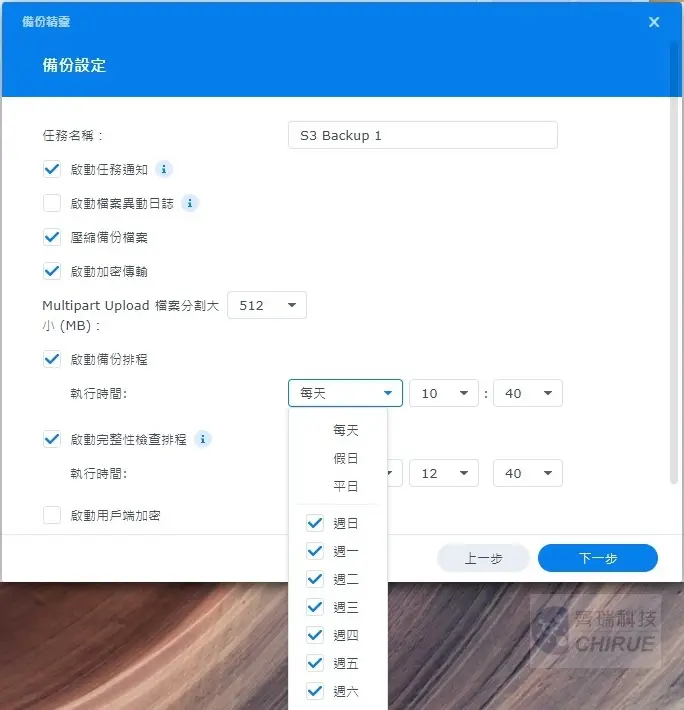
▲ Set the backup task content and schedule, and press Next after completion
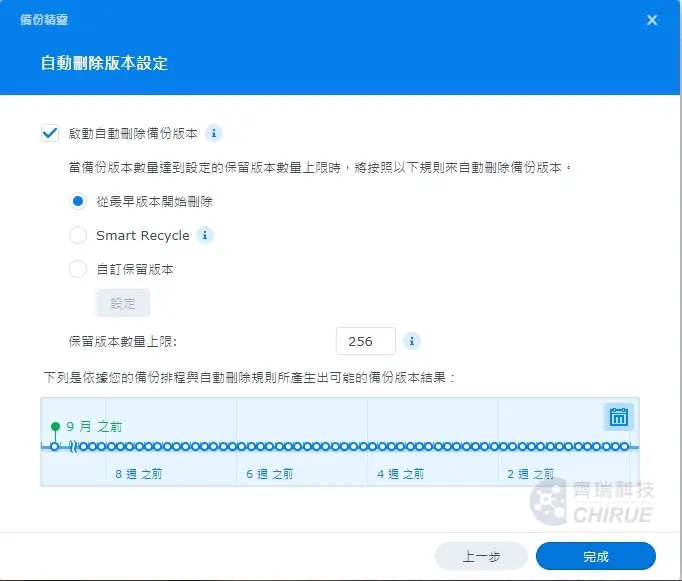
▲ Set whether to automatically delete the previous backup version, press Finish after setting
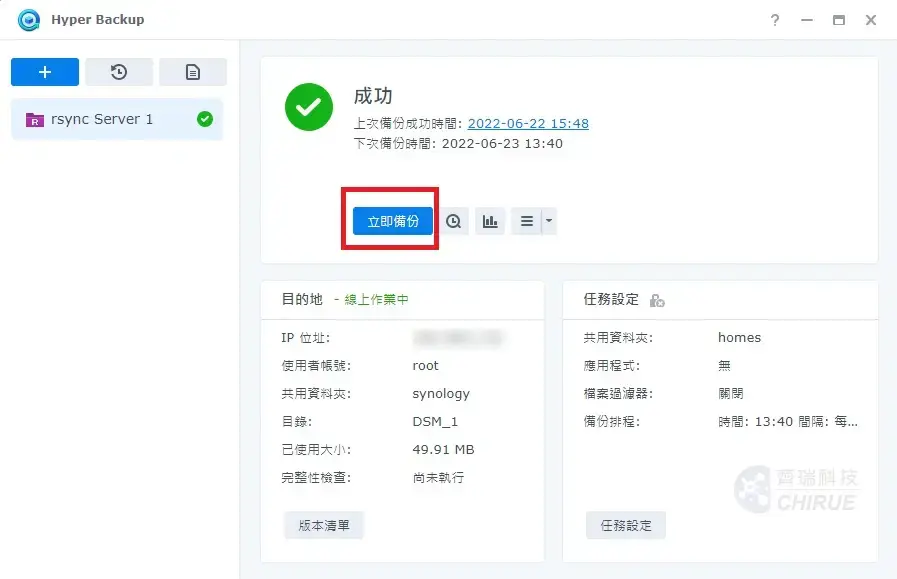
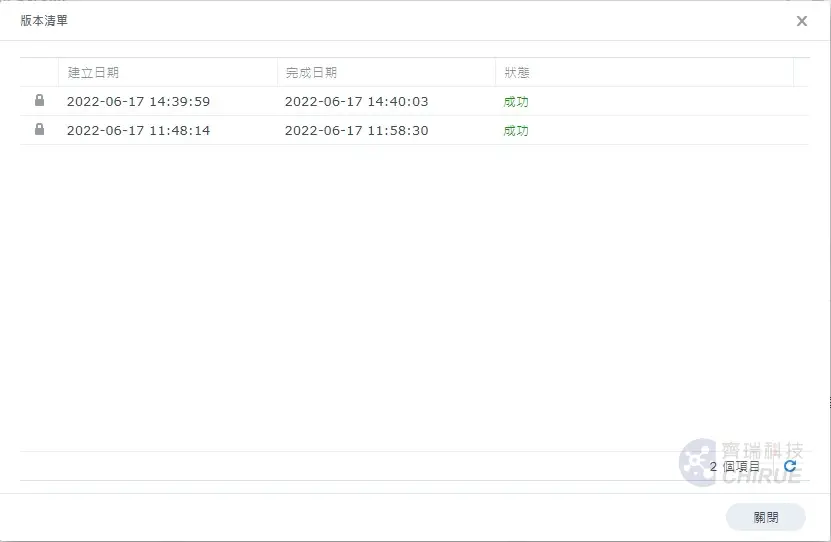
▲ After the previous steps are completed, select [Backup Now] to back up the data to the NAS of Qirui Technology, and click the version list below to browse the items that have been backed up
Hyper backup adds or modifies task schedule settings
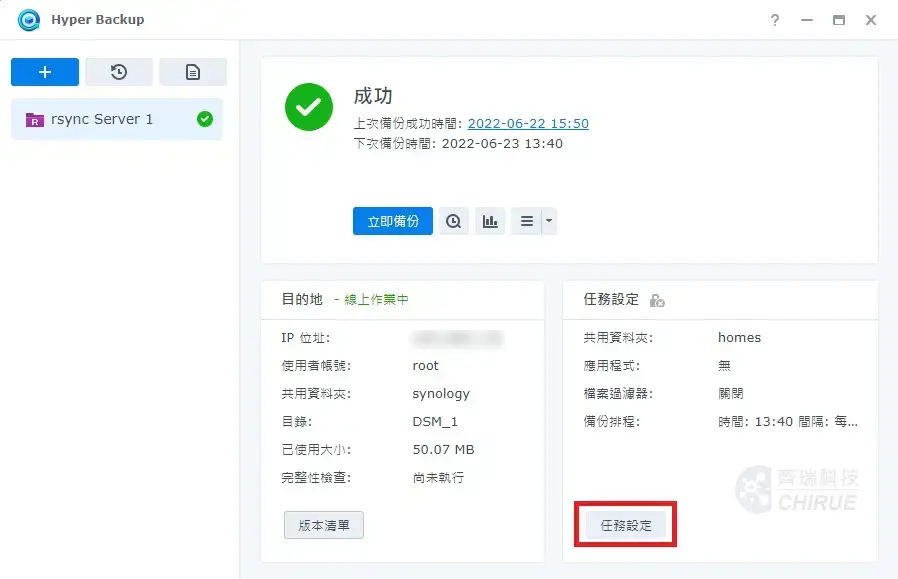
▲ Open Hyper Backup and select [+] in the upper left corner to add a backup task. The steps are the same as above, and select the lower right corner to enter [Task Settings]
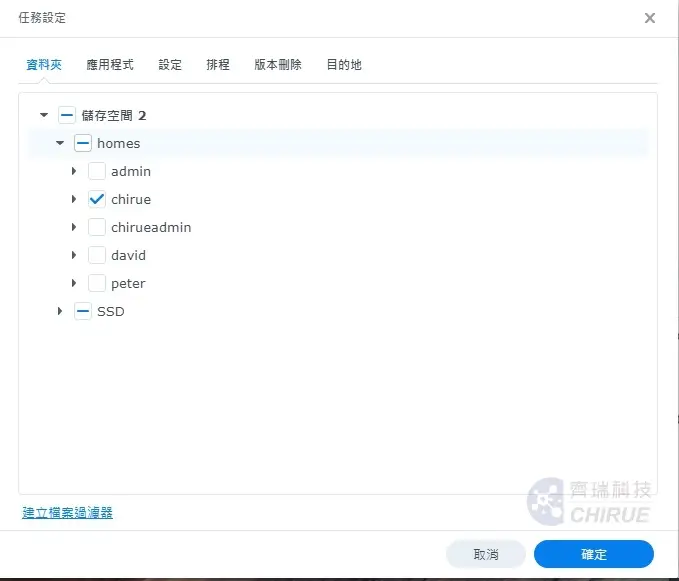
▲ Task settings can change the folder options or applications that need to be backed up, backup schedule and version deletion
Well, this is today's teaching!
Finally, don't forget to do a verification, try to restore the backed up data, and then you can use the schedule to automatically back up your data!
More platform backup moved to data center backup host
🔷 Synology NAS backup to data center backup host
Further reading 👉 5 minutes to teach you to set up Synology NAS backup to data center backup host, through Hyper backup (Part 1)
Further reading 👉 5 minutes to teach you to set up Synology NAS backup to data center backup host, using Rsync (Part 2)
🔷 Windows backup to data center backup host
Further reading 👉 5 minutes to teach you to set up Windows backup to NAS
🔷 QNAP backup to data center backup host
Further reading 👉 5 minutes to teach you to set up QNAP backup to data center backup host
🔷 Ubuntu資料以rsync方式備份到資料中心備份主機
Further reading 👉 5分鐘教你設定Ubuntu資料以rsync方式備份到資料中心備份主機
【攻城獅推薦!】中小企業Synology NAS經濟選擇!
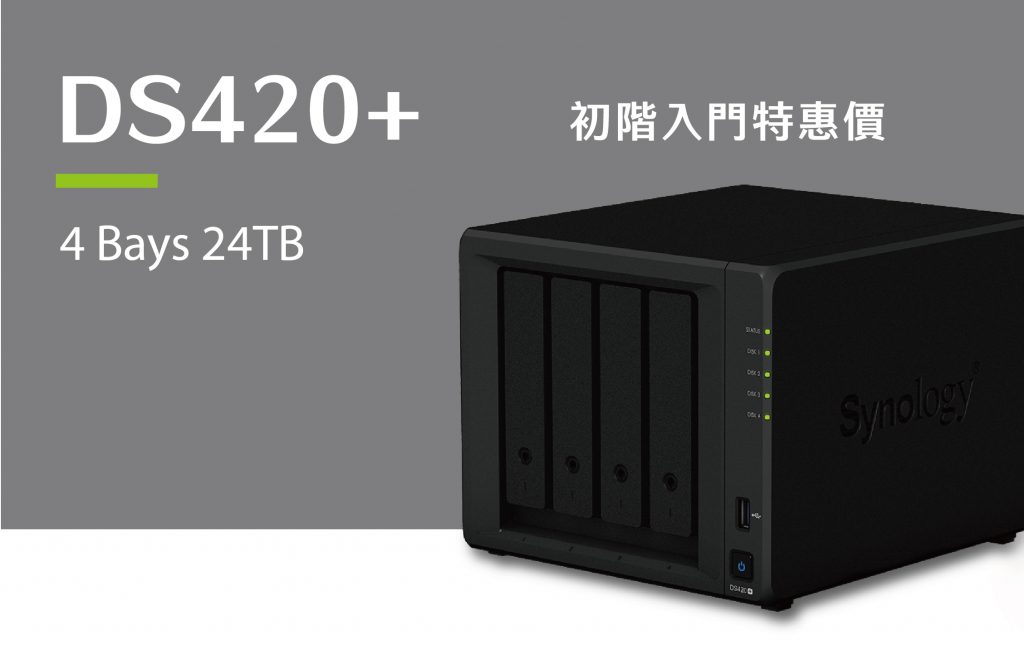
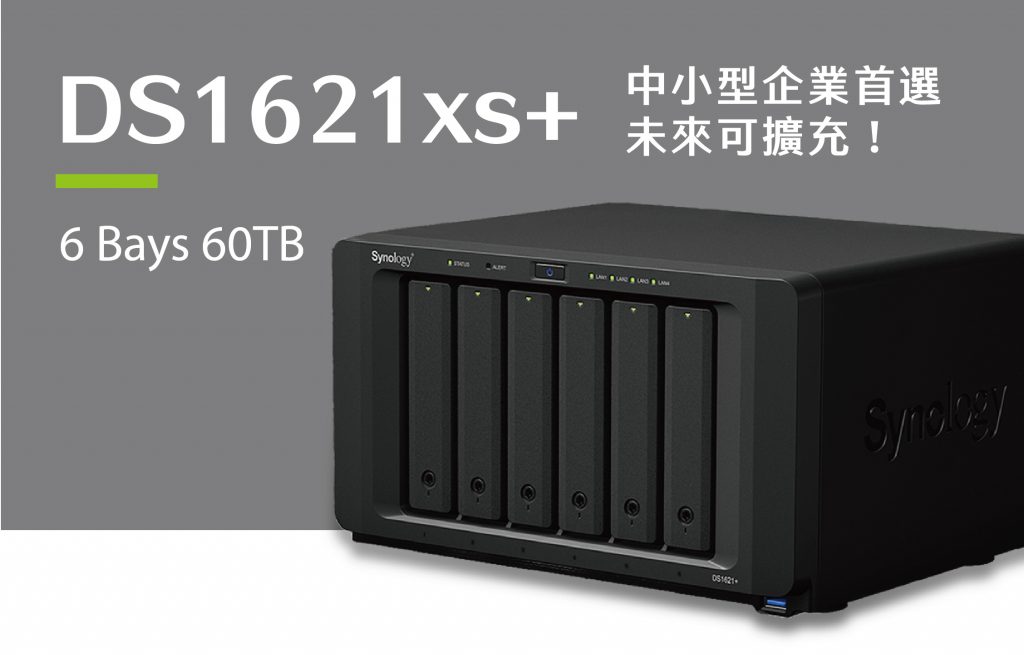
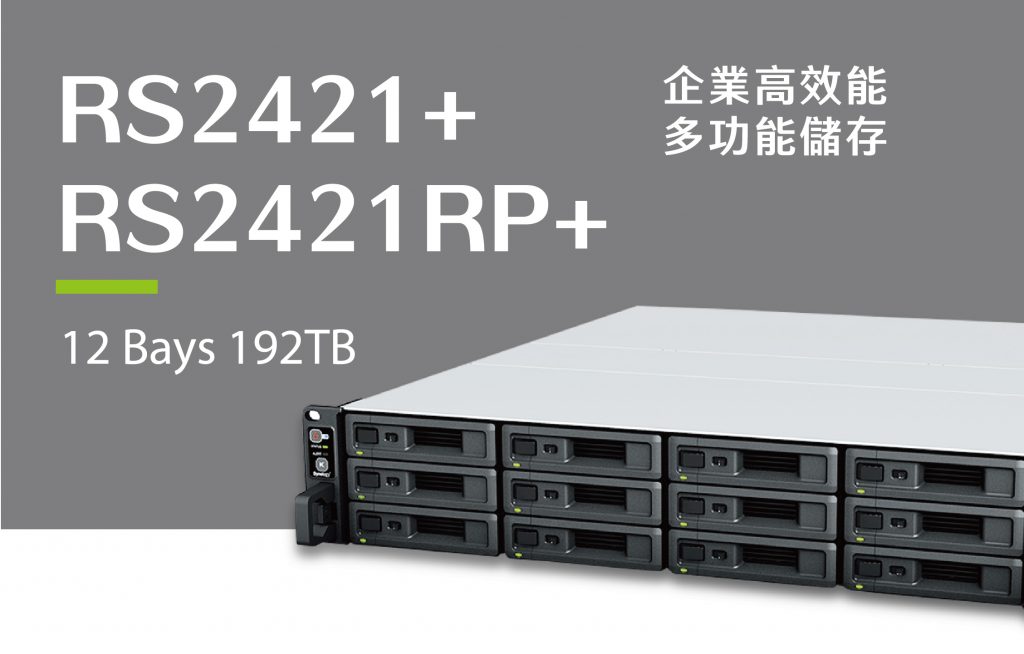
如果最近有購機需求,不妨可以參考Synology經銷-齊瑞科技推出的九月份最新的優惠組合方案,絕對比PCHOME其他通路還要優惠唷!
齊瑞科技保留活動價格與出貨的最終解釋權。
Qirui Technology | Enterprise Backup Expert

As an IT outsourcing company of the central government for many years, Qirui Technology provides comprehensive enterprise backup planning and information security management for various industries. It has an internationally certified computer room to assist customer server hosting services. In recent years, it has assisted many small and medium-sized enterprises in their successful digital transformation.
Promote enterprise off-site backup, in line with regulatory requirements!
Further reading 👉 Talking about the myth of enterprise backup, although important, it is often half done
Further reading 👉 【Case】Unlimited space on Google Drive is terminated, a new option for enterprise backup!


